Social Icons

Friday, September 25, 2009

WIP: Academy 1/72 F-16CG

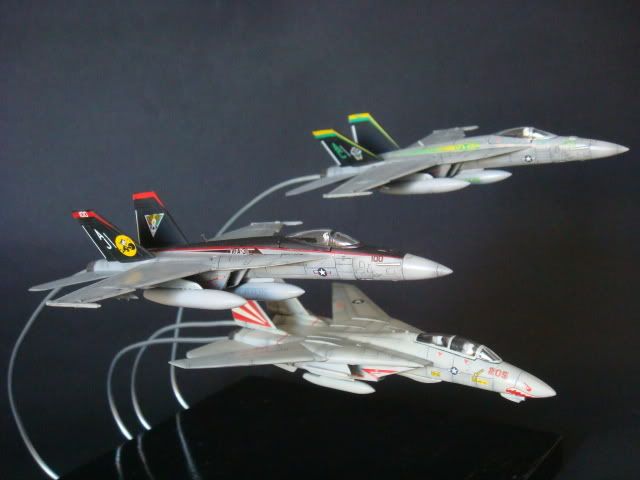
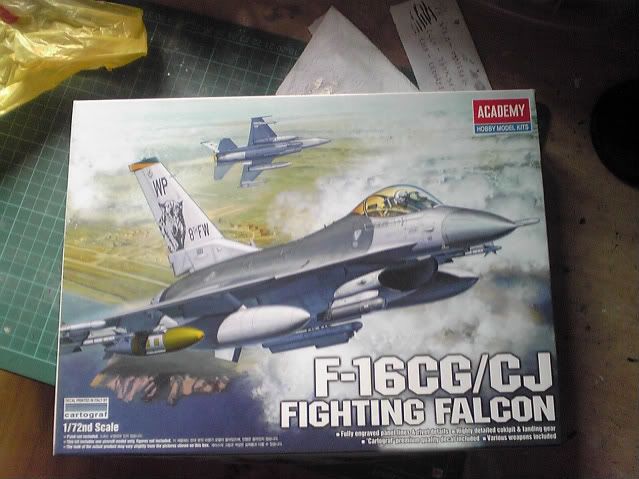
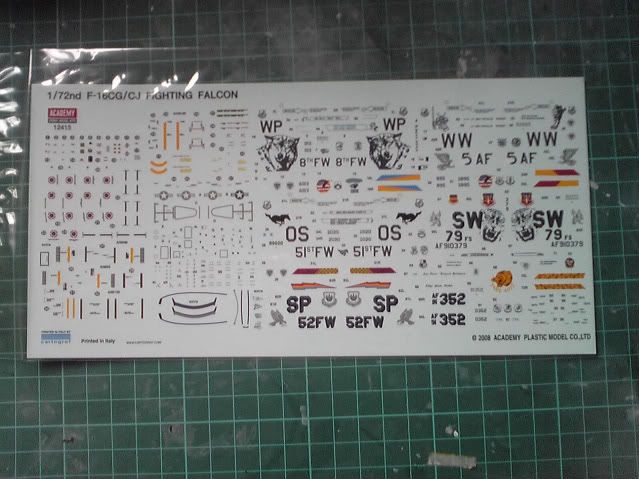
Ah... The new Academy kit, I would say one of the best 72nd scale F-16 offering in the current market. You get lots of stuff in the box, very nice details (rivets on a 1/72 aircraft!!! Cockpit details .etc), decals by Cartograf (markings for 5 planes I think).

The pretty boxart...


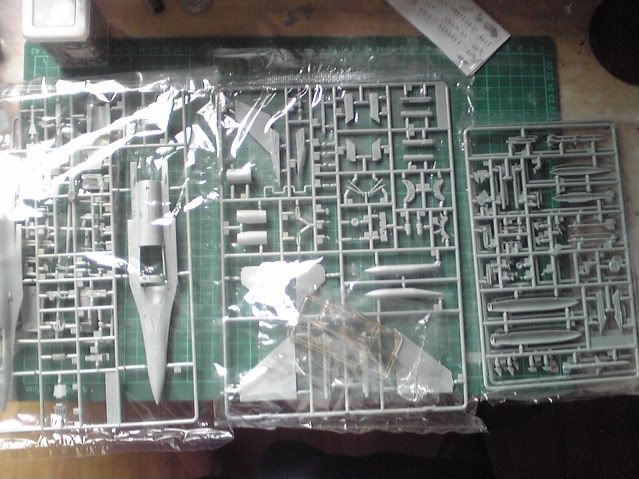
Sprue layout, something different done by Academy is that they molded some sort of protective shield on the clear sprue to protect your clear part, very nice indeed.


And the Cartograf decals, lots of markings and teeny weeny stencils...


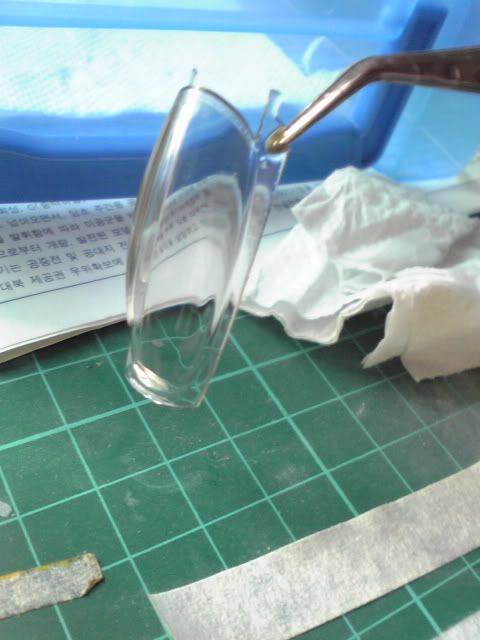
I started work first on the canopy, since there's a long flash in the surface, sanded lightly with 400 grit, then 600 grit and 1000 grit sandpaper. Then I used dried up powder metal polish to polish, doesn't work as well as rubbing compound as it left the surface a little hazy. A dip into Future to brighten things up!


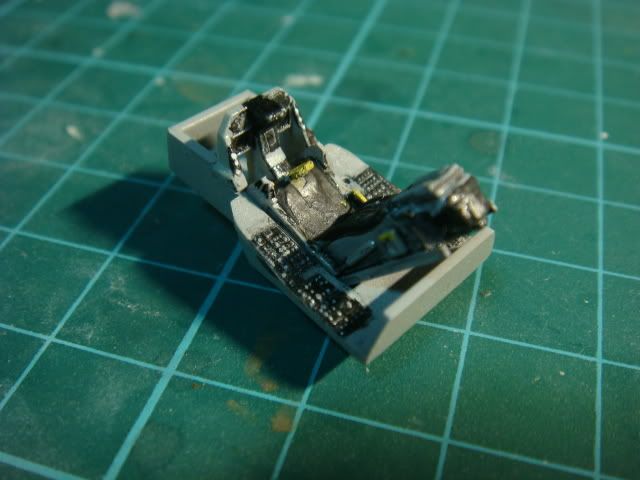
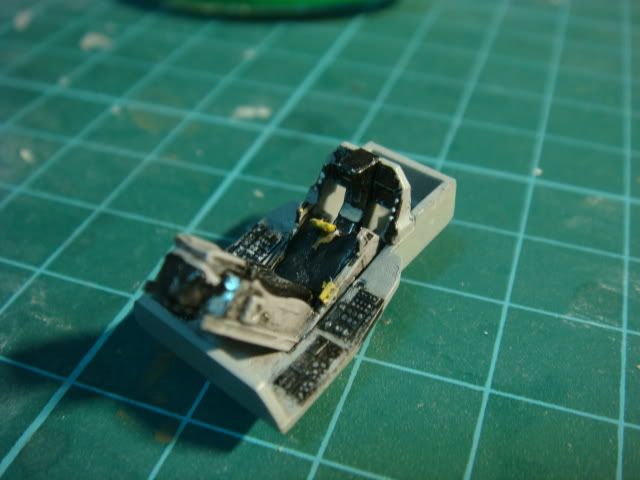
Leaving the canopy to cure somewhere safe from dust, I started work on the cockpit. Same as usual, dry-brushing to highlight the raised detail. Ejection seat came in 5 parts, was quite a pain to put together. But I ended up with this


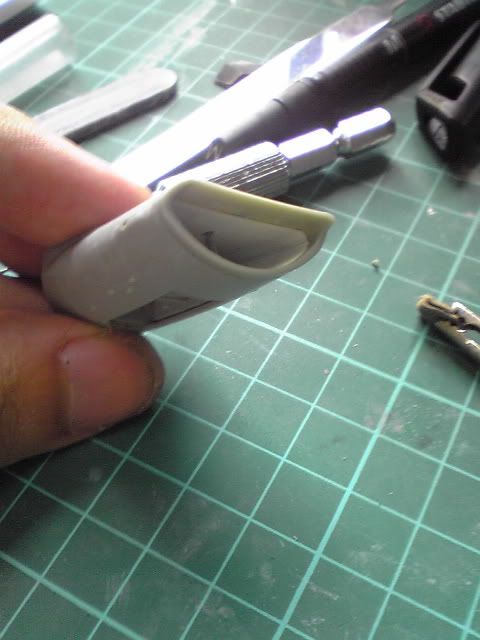
Intakes.... very precise fitting needed here to get a perfect fit without putty, otherwise might end up like mine, having a large seam where the intake lips join the 'main intake area thingie'. Also, when joining the intake to the lower fuselage, again careful positioning for perfect fit, or end up having a step like mine..... -.-


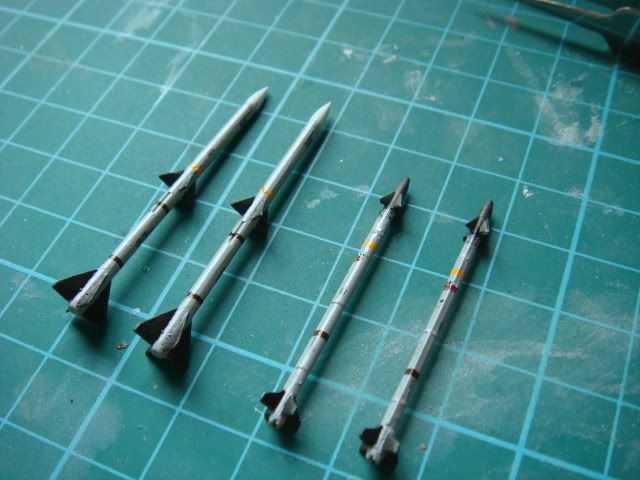
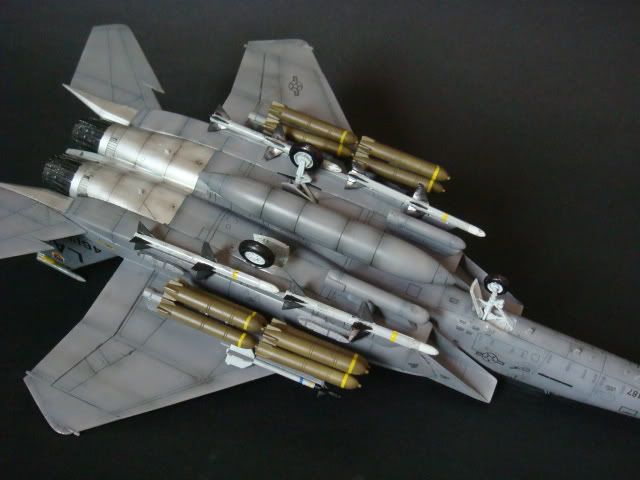
Weapons loadout configuration will be like this: (Image taken from www.F-16.net)


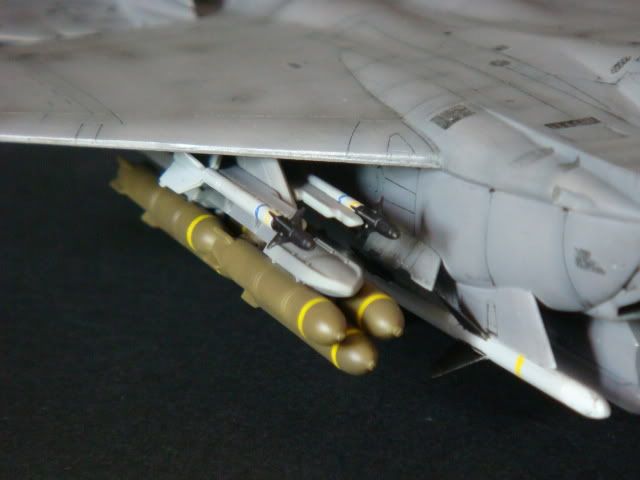
Stations 1/9: AIM- 120 AMRAAM
Stations 2/8: AIM-9X Sidewinder
Stations 3/7: GBU-38 JDAM
Stations 4/6: Fuel tank
Initially, I planned to load stations 3/7 with HARM, but one of it flew out of the window, and into oblivion so I had to change to something else...

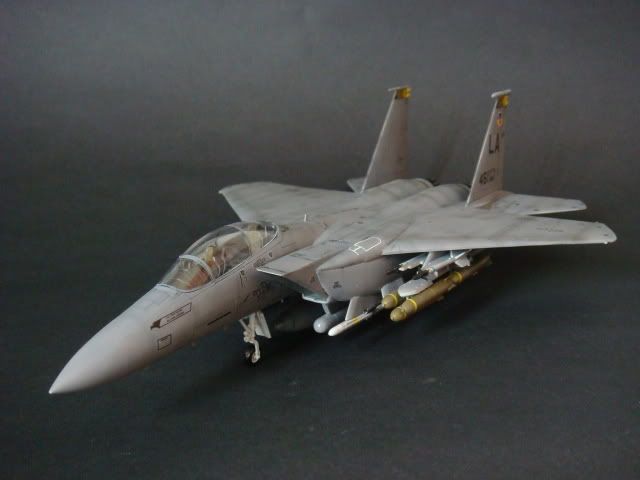
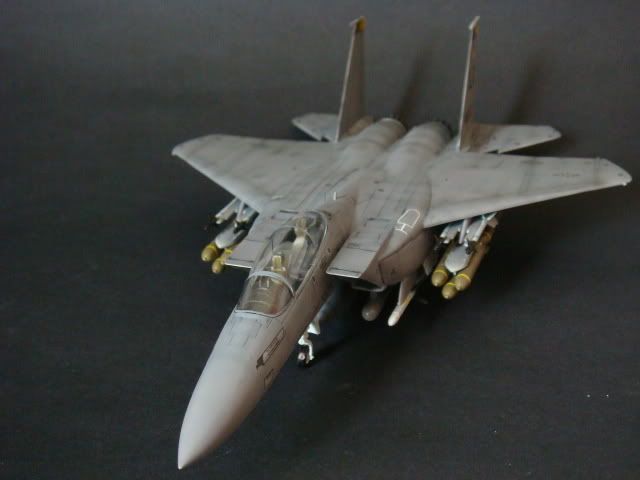
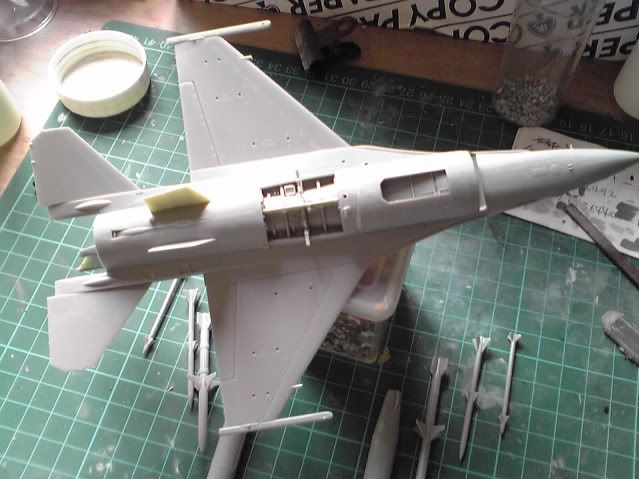
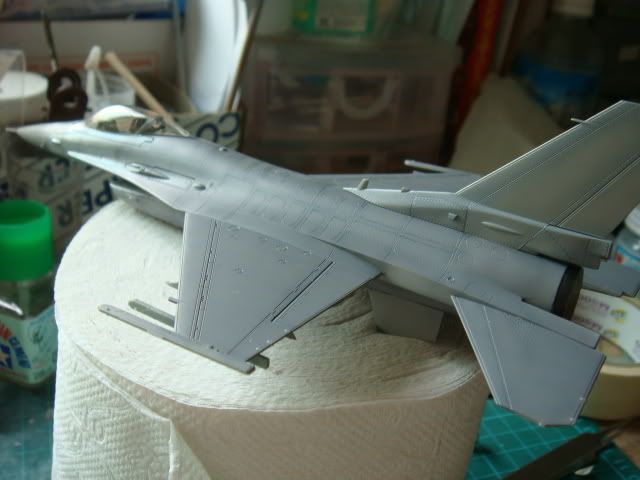
More progress done during the weekend. landing areas painted white, aircraft preshaded! (Look at all those panels!!!)


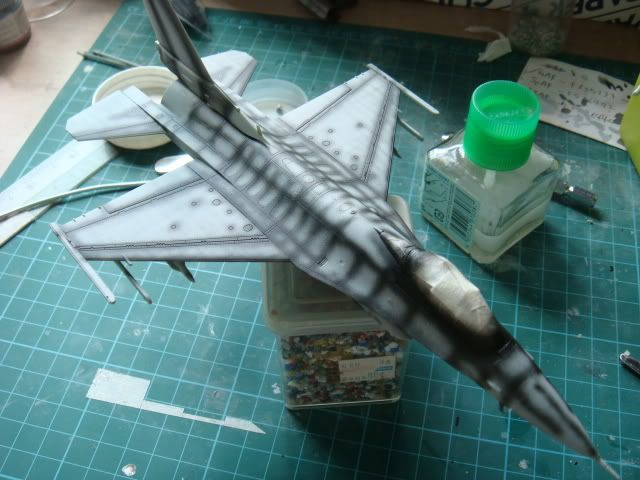
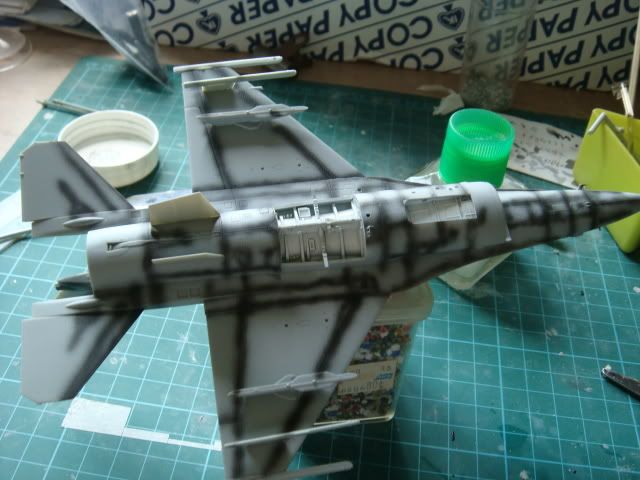
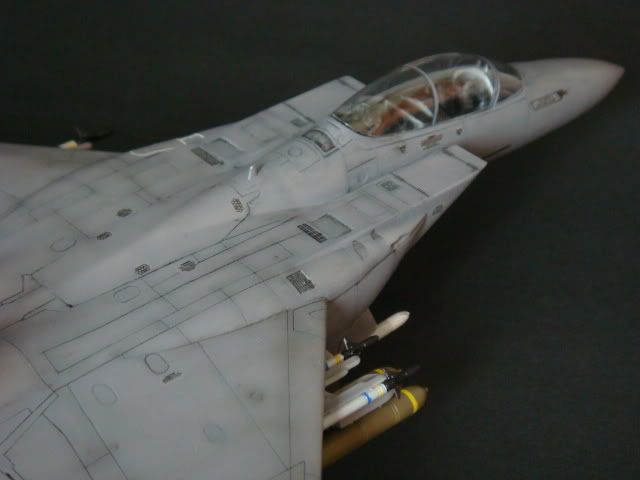
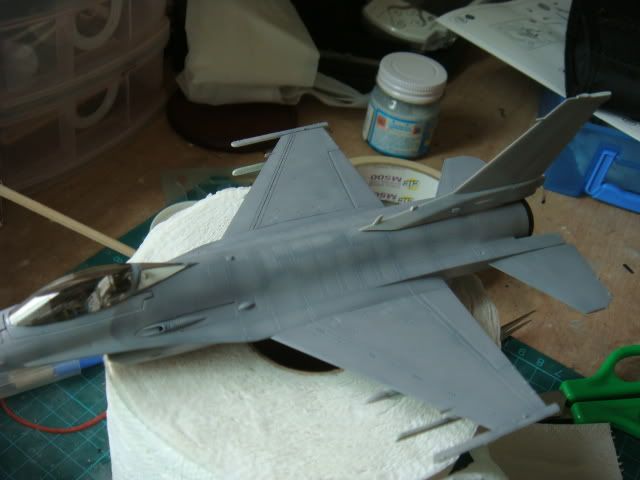
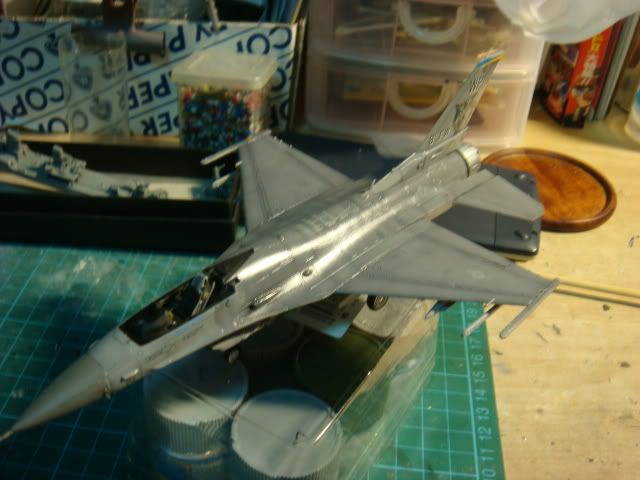
And finally I started the painting stage. Paint used were according to the instruction manual. Underside was easy, just one color to cover the whole thing, but masking the inside of the intake was tricky. Did some high-lighting of panels on the topside so it doesn't look so plain.


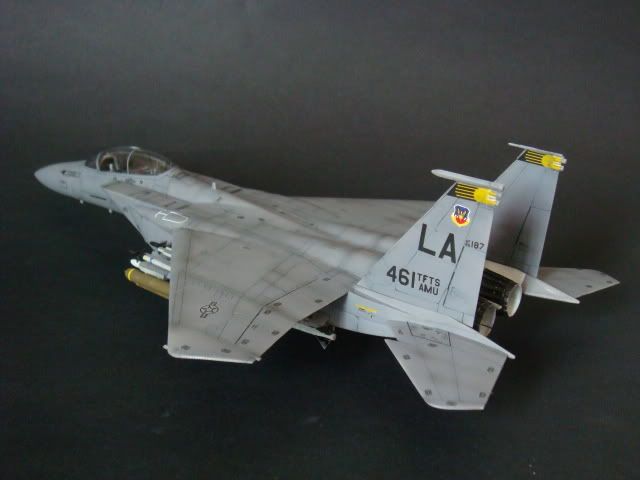
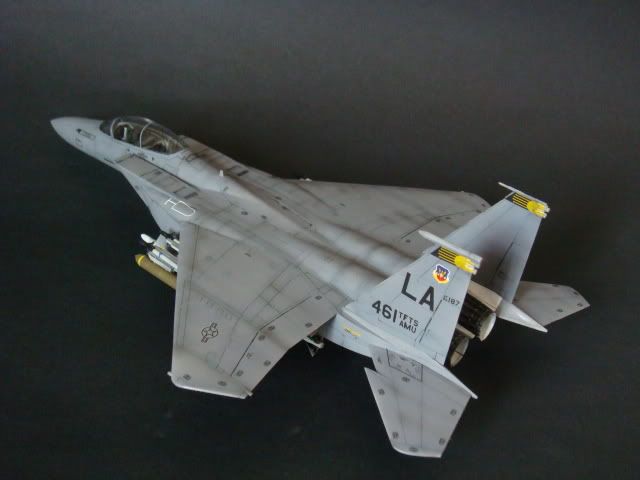
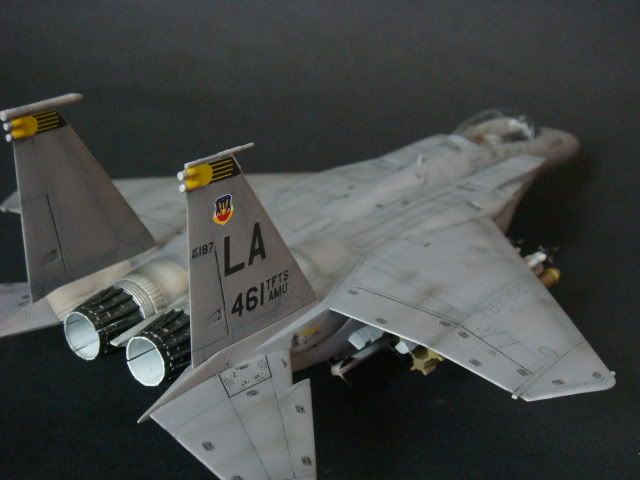
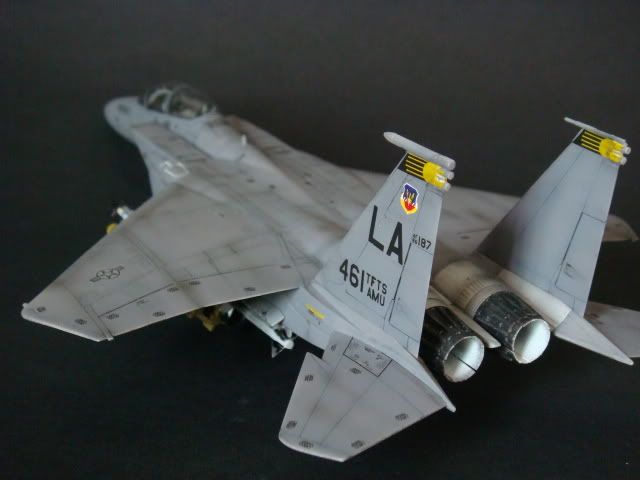
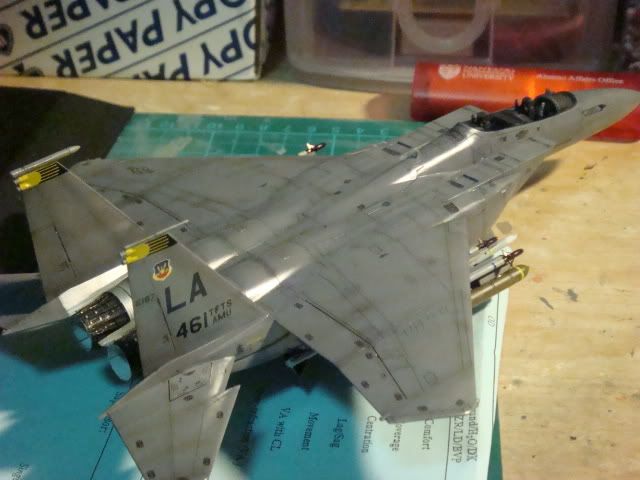
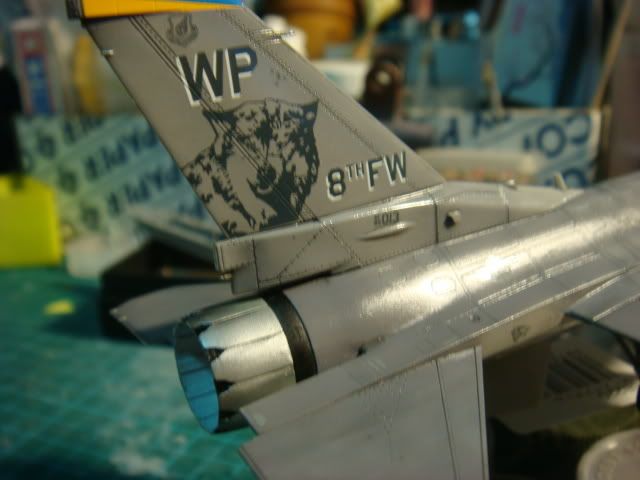
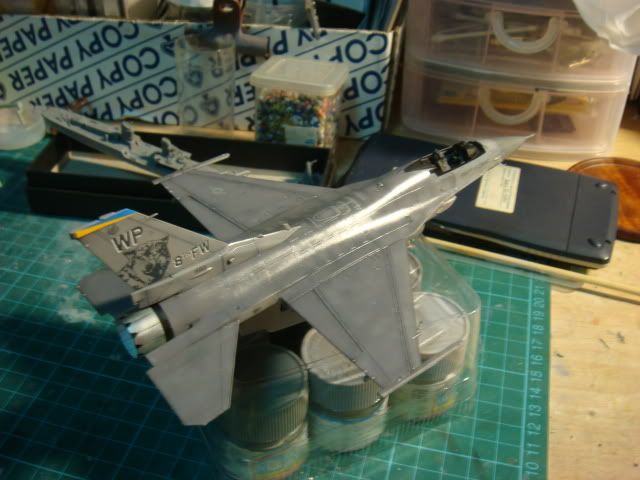
Exhaust cone painted and decals up!!! Quality thin decals printed by Cartograf! Oil wash done and whole plane futured!!! Will leave it to cure for a day or two before the final flat coat.

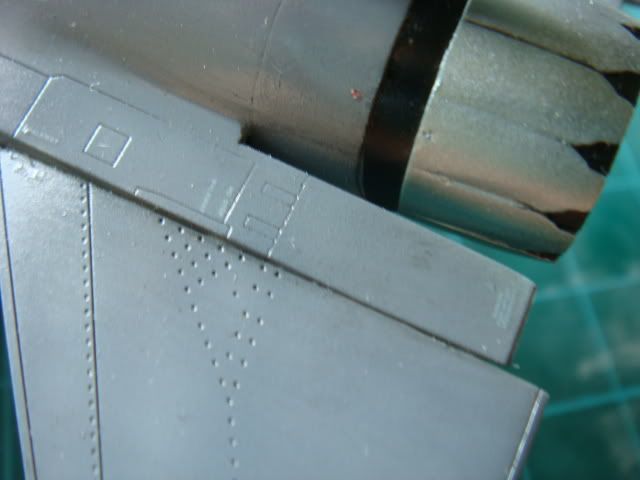
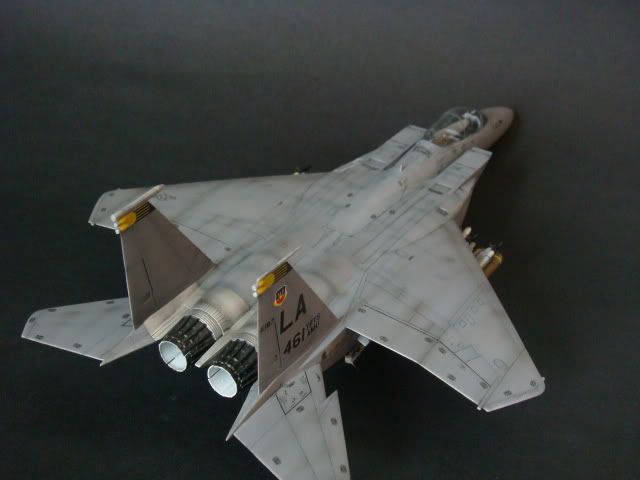
Exhaust cone. Masking those black parts was quite a job! You can see from the photo that the decal responded quite nicely with mark softer, sitting nicely in the panel line and rivets.


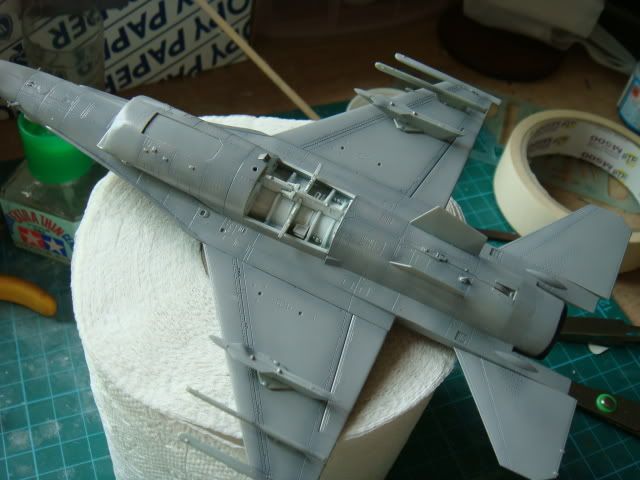
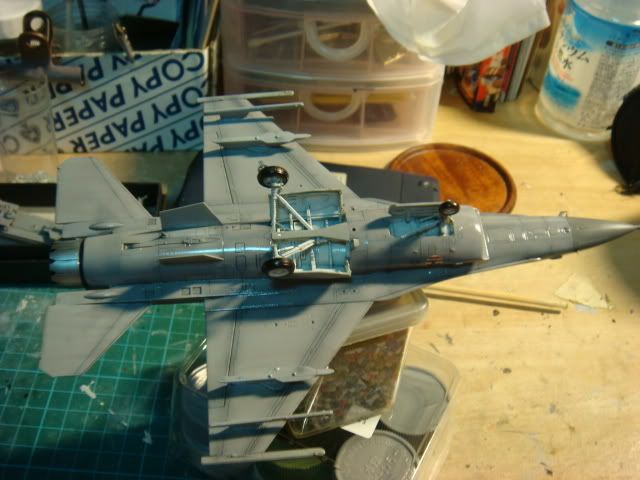
Underside, landing gears mounted, gotta admit it was extremely frustrating to assemble it, over 10+ tiny and thin parts.


And Future brushed on...


And just to show how tiny some decals are (especially the 'No Step' decals), pls ignore the speck of dust near the exhaust area :)

AMRAAM and Sidewinder painted and decaled, it may seem like there's lots of decals to apply, but Academy did a nice job of lumping a few into 1 piece of decal!


Monday, September 14, 2009

In Flight: Super Hornets and a Tomcat

Completed!!!

Group shot


Next up, Sundowners


Finally, the Super Hornets


One Final photo
 

Wednesday, September 9, 2009

[WIP] 1/144 F-14A/F-18E

Started again on more 144 scale kits! All by Dragon. These will be displayed in flight. Still need to find some metal rod and a display base....

Markings will be:
F-14A - Sundowners
F-18E - Gunslingers + Tomcatters

Fitting for the F-14 was ok, needed some puttying and sanding, fitting for the F-18 were much better.

Primed and preshaded


some work done on the super hornets. Red and black strip on the tomcatters had to be masked and sprayed (no decals provided for this area).


Oil wash done on the hornets. Pilots painted glued into the cockpit, they were taken from other Dragon kits.


Sundowners tomcat painted. Decals used are from the ARII kit, the one from the Dragon boxing were yellowish.... Oil wash also done on the tomcat and pilots painted. Found the wash too dark for this scale, cleaned up abit more...


Done the last bits, flat coated all 3 planes and canopies attached. Mounted onto a wooden base using metal rod. I drilled holes at the side of the base to stick the rod in, cover any gaps with epoxy putty to prevent the rod from moving around.

Monday, August 24, 2009

Academy 1/72 Strike Eagle Completed!

Hey!! Completed this kit a few days ago, did not have time to upload the pictures until now haha! For this build, I really liked how the kit turned out, my first attempt doing post-shading using Tamiya Smoke, panel line washing done using cheap oil paint. As usual, decals from old Academy kits sucked so badly that even after brushing on 3 coats of Future, it still silvers and the edges can still be seen.


Friday, August 7, 2009

WIP: Academy 1/72 F-15E


Hi! Been quite burnt out with Gunpla after completing the Exia Repair, so started back on aircraft with Academy's 72 scale F-15E Strike Eagle. Fitting quite bad, did not expect much from a cheap kit anyway. Same problematic areas as the F-15D I did some time ago, putty and sanding solved most of it. Panel lines were also quite shallow, rescribed the whole plane. Canopy dipped in Future, kit primed and preshaded.

Ok, finally completed the paint job on this Eagle. FS36118 overall, exhaust area sprayed chrome silver. 2 coats of Future applied to prepare for decals and panel lining.

Decalling done! Gotta hate those '1 million' tiny stencils to apply all over the plane... Added another coat of Future to protect the decals, panel washing next. Hopefully will blend the decals in, otherwise might have to airbrush a thin layer of the base color.


ALmost done! Weapons painted, yellow strips on the bombs had to be masked. Did a light post shading using Tamiya smoke, tried out some streaking effect on the wings and at the silver exhaust area, came out quite nicely. Landing gears/fuel tank/weapon pylons/payload loaded on. Last thing is to do is flat coat the whole thing and attach the canopy.

Sunday, July 12, 2009

Exia Repair Completed!

Hi, finally completed this kit. Finished masking and painting some smaller areas, weathered damaged armor parts + silver drybrushing, some panel lines done, sprayed flat coat and lastly attached the GN drives.